A precise component of the plastic housing for a pin connector
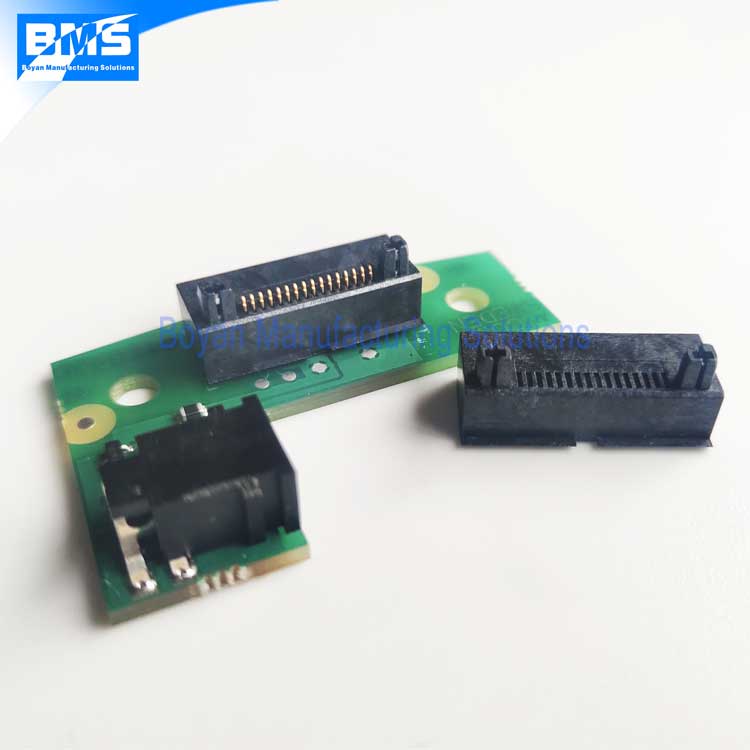
This is the plastic housing for a pin connector made to high precision. To be more specific, it is used for a phone charger connector that is mounted on PCB.
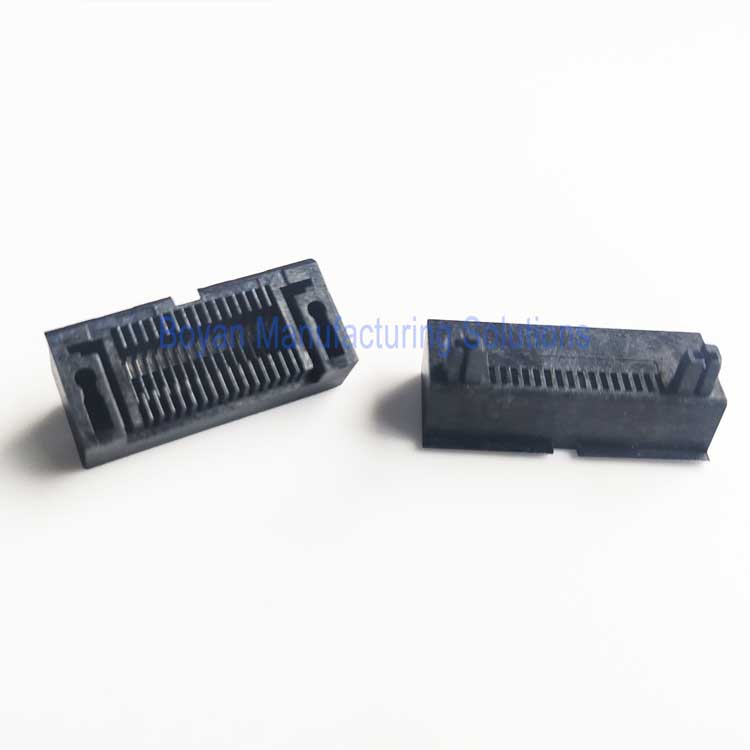
We reverse-engineered this part from existing samples.
Part specifications
| Material | LCP |
| Size | 21*9*8 mm |
| Weight | 0.6 grams |
| Tolerance for the key dimension | +/-0.03mm |
| Processes | Injection molding |
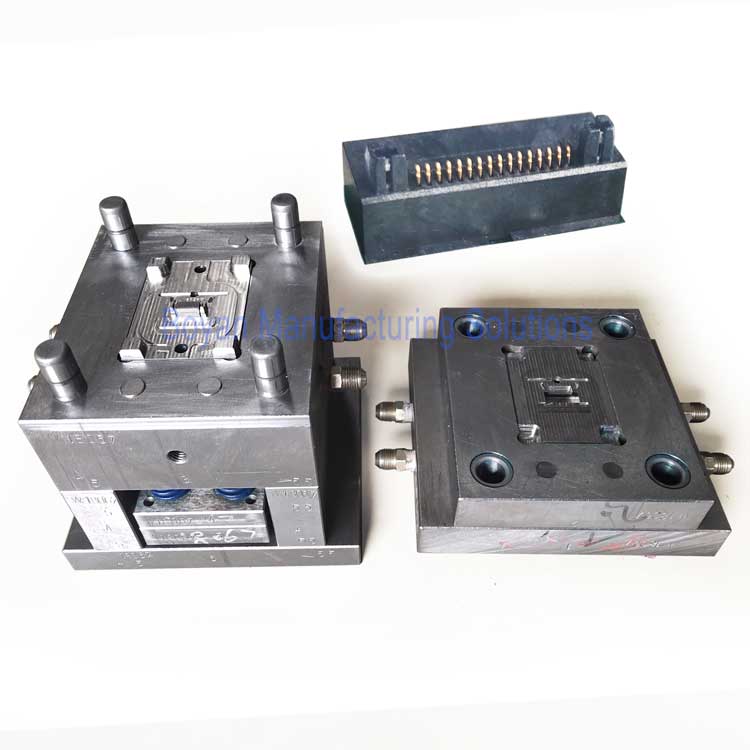
Mold price: $2,600
- Cavity number: 1
- Mold material: S136H
- Lead time: 45 days
There is only 1 cavity in this mold, that is because of the low quantity of this product, so as to save mold cost.
Critical quality requirements
Exact copying of the original part (reverse engineering)
This is quite a challenge to copy such a small product to meet the required precision. As a matter of fact, usual reverse engineering does not deal with this level of precision. After all, designing is the most important process. Without the precisely correct design, everything that follows could be done in a waste.
Difficulty in the machining of the mold
As you can find on the drawing, the grooves between the fins are 0.33mm wide, 5mm deep, and the fins themselves are 0.47mm thick.
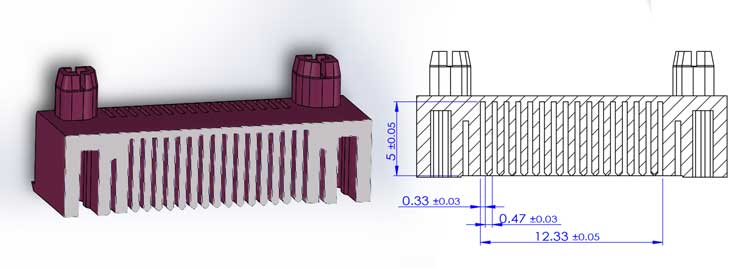
These grooves are machined by Electrical Discharge Machining, so the copper electrode must not be burnt when going 5mm down.
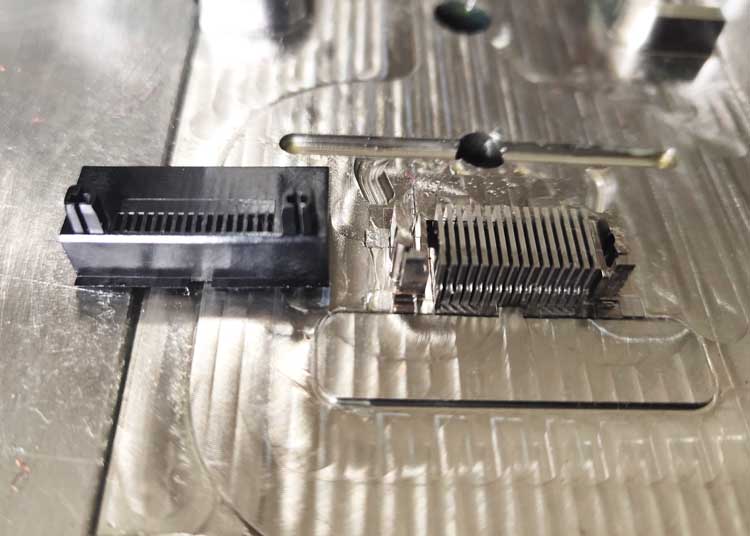
Avoid flashes
The clearance between the cavity and core of the mold should be less than 0.02-0.03mm, otherwise, there will be undesired flashes on the parts. As a matter of fact, this has happened once in the mold trial production.
The machining of this mold is literally a one-shot trial. If something goes wrong, there is no way to correct it manually, we will have to throw away the material already half machined, and start it all over again from a new piece of material.
Dimensional inspection
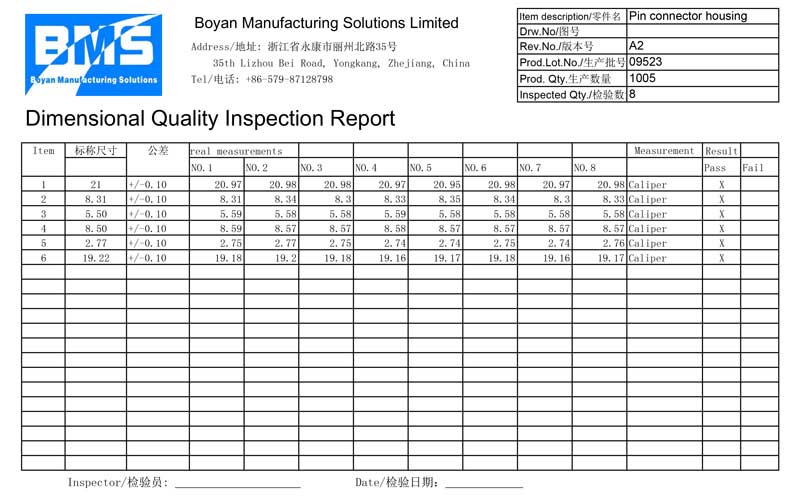
The dimensions of plastic injection molded parts are subject to many factors in the molding process, so we need to control this process and monitor the dimensions that are made within tolerances.
We use 2 ways to check the dimensions:
1) This is the most direct and effective method, which is to check the fitness with its mating component. The fit cannot be too tight or too loose.
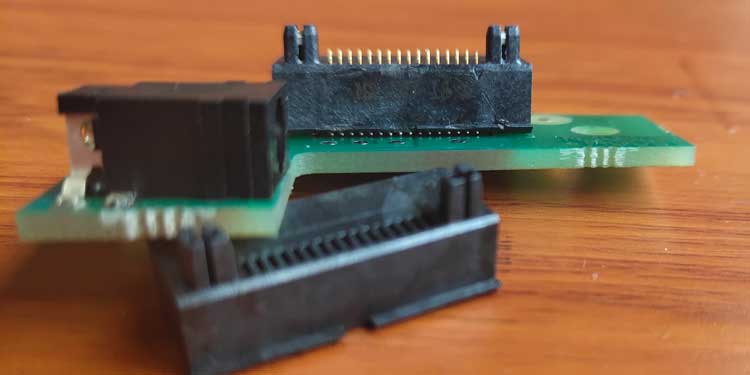
2) Check the overall length by a caliper. Although the length is not a critical dimension, it reflects the overall change of other dimensions, because the contraction rate of the parts can be considered even all over the part.
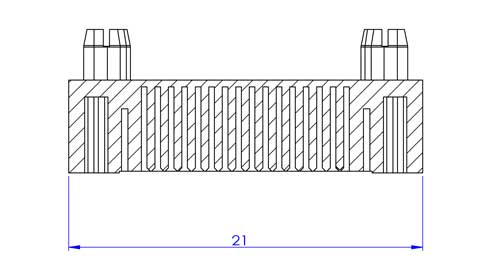
It is pretty easy to take this measurement, so the operator or QC inspector can take multiple measurements quickly in the production process.
