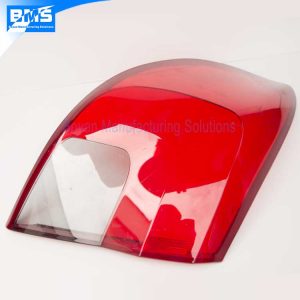
We will introduce here 2 products that we have done before related to LEGO parts:
1. A Lego part; 2. A part similar to Lego bricks
1. An injection mold for a Lego Part
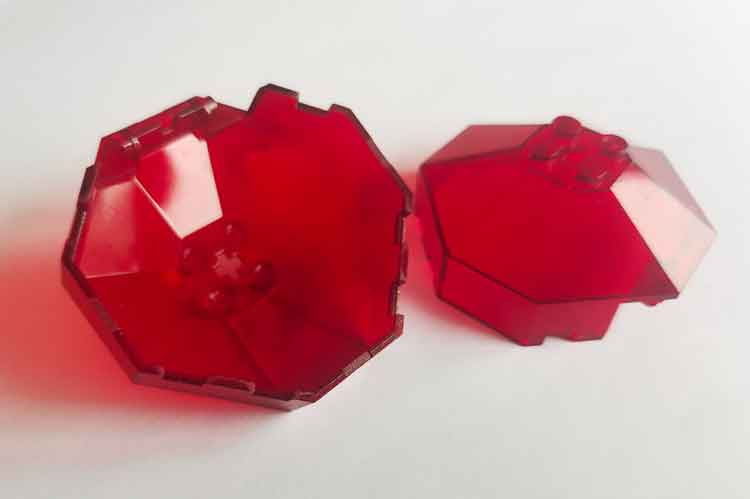
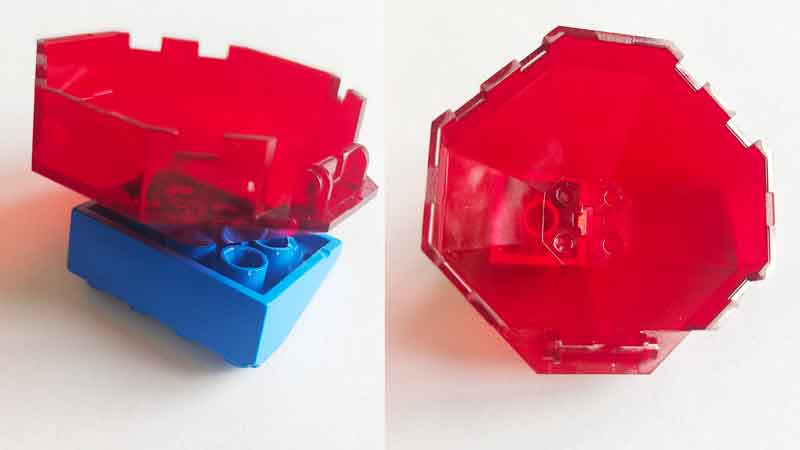
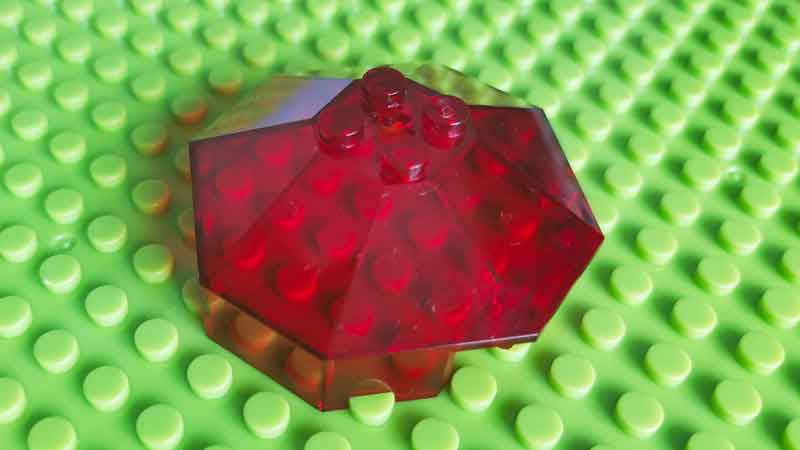
Information of the part
| Material | PC |
| Size | 48*48*20mm |
| Weight | 7.96 grams |
| Tolerance for the key dimension | +/-0.01mm |
| Mold type | 2 cavity, cold runner |
Critical requirements:
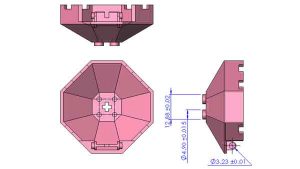
Tight tolerances of up to ±0.01mm
Lego parts rely on the round protrusion of one part to fit into the round indentation of another part (or the grooves between protrusions) to obtain the right tightness of fit.
This fit of LEGO parts is so sensitive to size, and a difference of 0.02mm will make you feel different tightness. If the deviation reaches 0.04mm, then the part is unusable.
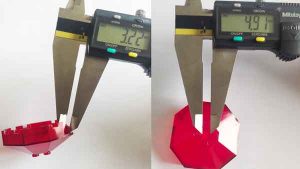
Please note: Using a vernier caliper to measure is not precise, in fact, it still needs to use special gauges to measure the mold dimensions.
At the same time, we use gauges or matching plastic parts to check the dimensions of plastic Lego parts.
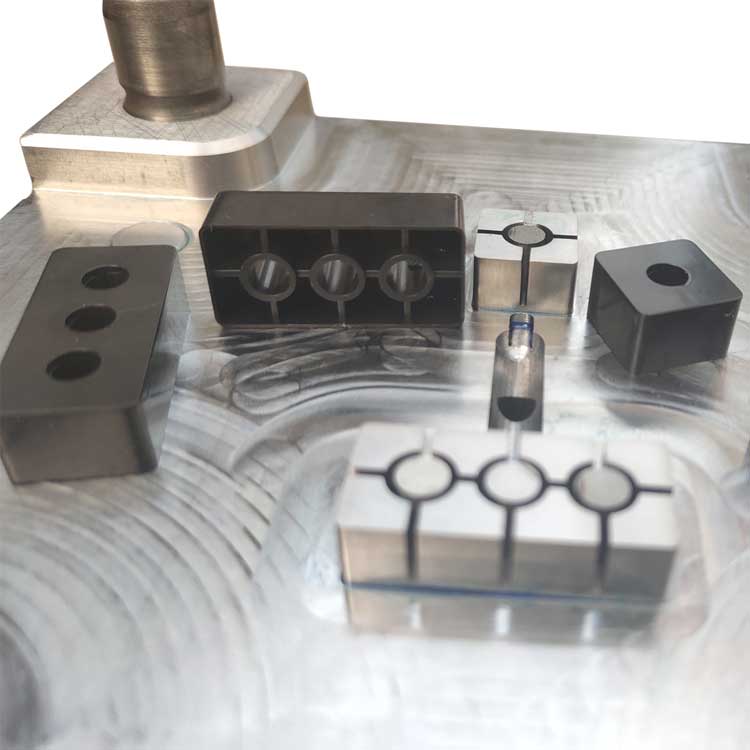
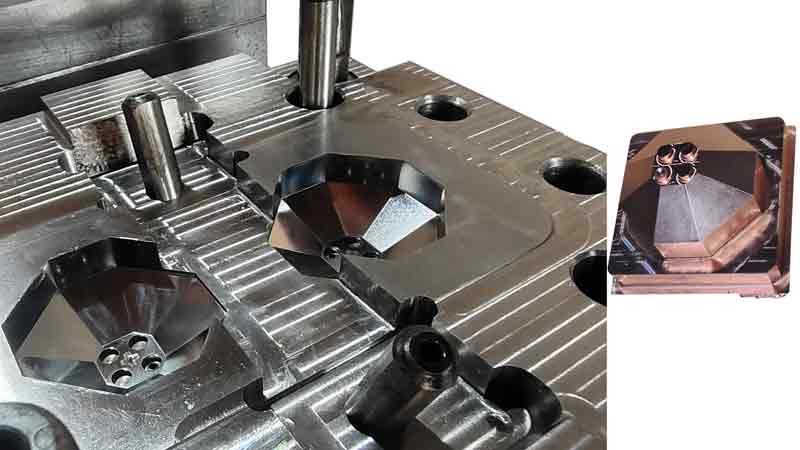
For example, we used 3 pins with diameters of 3.20, 3.22 and 3.23 mm to check the hole for making the Φ3.23 ±0.01 pole. The holes were machined by mirror finish EDM. The machine itself is quite precise, it is just the tool offset that needs to be checked precisely with the utmost attention to make the machined dimension precise.
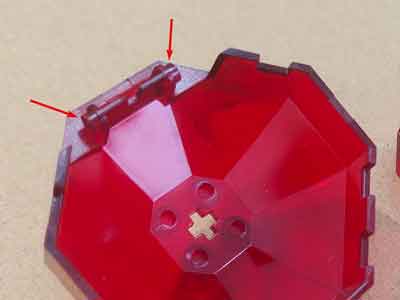
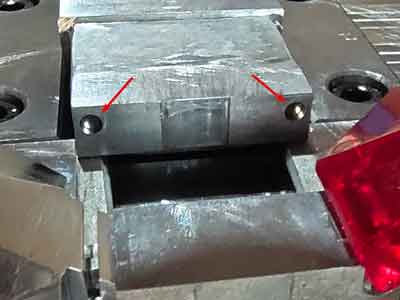
High-precision machining methods
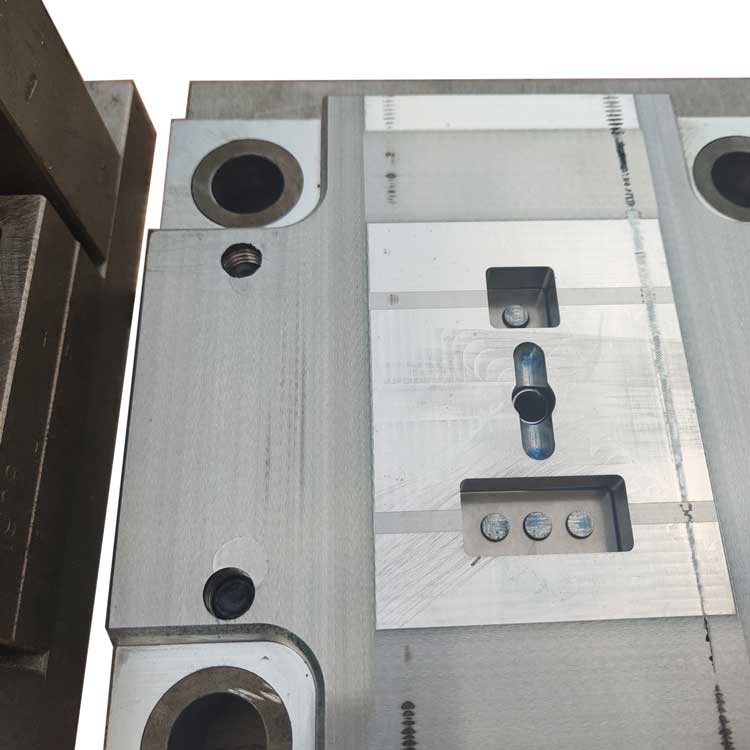
Therefore, the injection molds of Lego parts are all completed by high-precision machining methods, such as slow wire cutting and mirror EDM. When machining the mold, appropriate inspection methods must also be used to ensure that the dimensions are within the tolerance range.
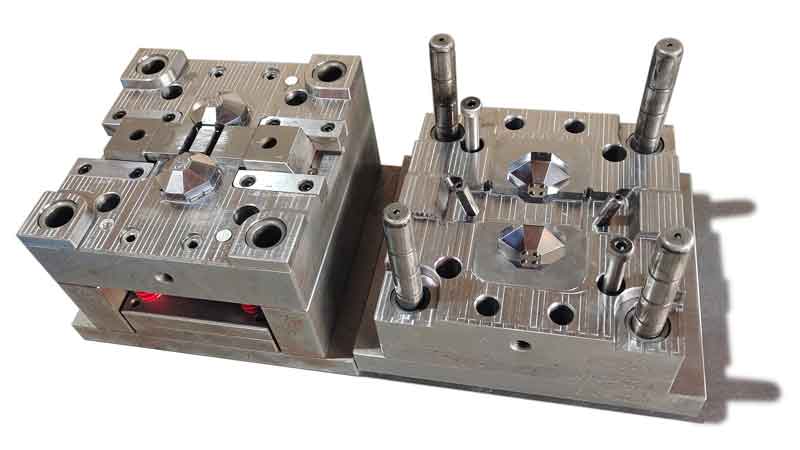
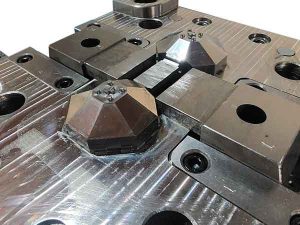
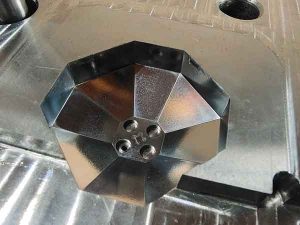
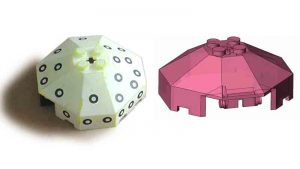
3d modeling from the original sample
When we want to make a replica of Lego parts, the first thing is to make a high-precision 3D model based on the sample. This is the basis for subsequent precision machining. Not only do we need to measure the original sample itself, but also measure the parts that match it, so as to avoid deviations caused by the inaccuracy in the original sample.
Smooth and flat surfaces
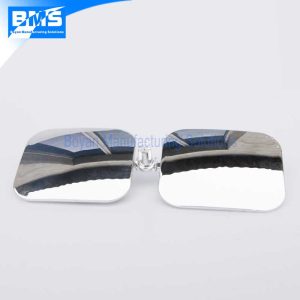
The surface of Lego parts needs to be flat and smooth, so that the product looks classy. Here we compare two samples, where the good part has a smoother surface and more uniform reflection, while the bad part has a rougher surface and can see a feeling of high and low depression in the reflection. In the photo, this difference is less obvious, but when you see the real thing, this difference is less likely to be ignored.
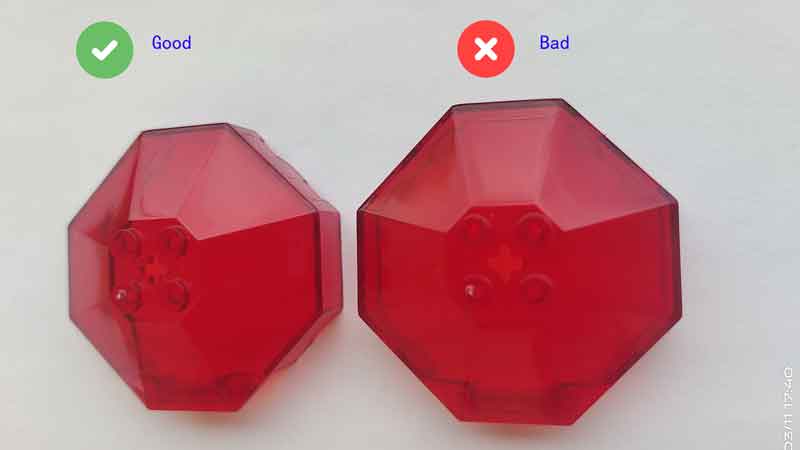
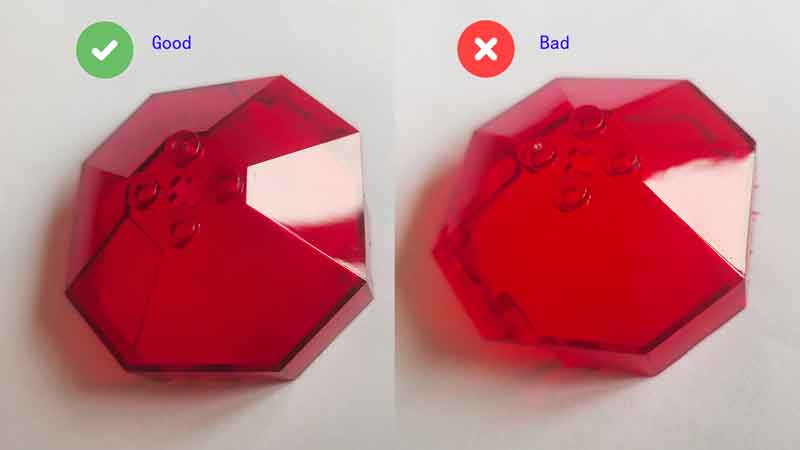
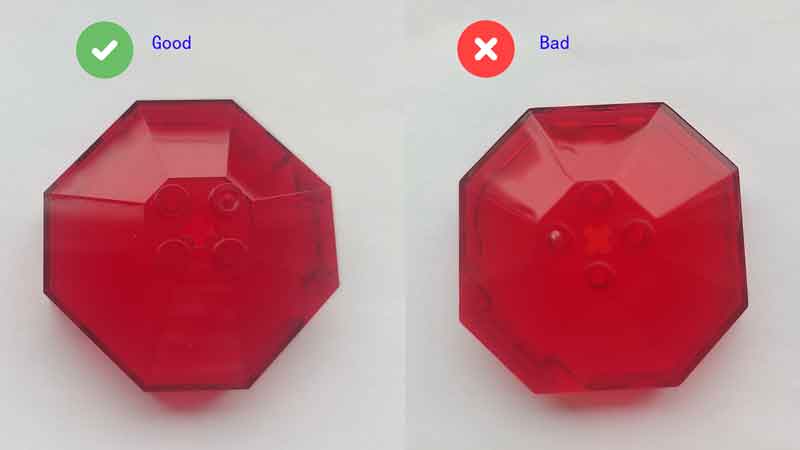
(Note: This kind of surface unevenness is a sign of a rough machining process. The surface that should have been machined by mirror EDM was replaced by ordinary EDM, which made it necessary to use manual polishing to achieve the required smoothness, and this kind of polishing would lead to uneven surface. Mirror EDM can achieve a relatively smooth finish, so that only a very small amount of polishing is needed to achieve the desired smoothness.)
2. An injection mold for Lego brick-like parts
↑Back to top
These parts may be a bit more challenging than the average Lego part because it not only has high tolerance requirements for the inner dimensions, but also for the external dimensions.
Part Specifications
| Material | ABS (black) |
| Size | 30*14*8.6mm |
| Weight | 0.5 grams |
| Tolerance for the key dimension | +/-0.02mm |
| Mold type | 1+1 family mold, cold runner |
Mold price: $1,500
- Cavity number: 1+1, family mold
- Mold material: 718H
- Lead time: 35 days
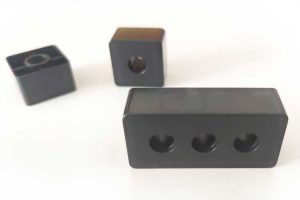
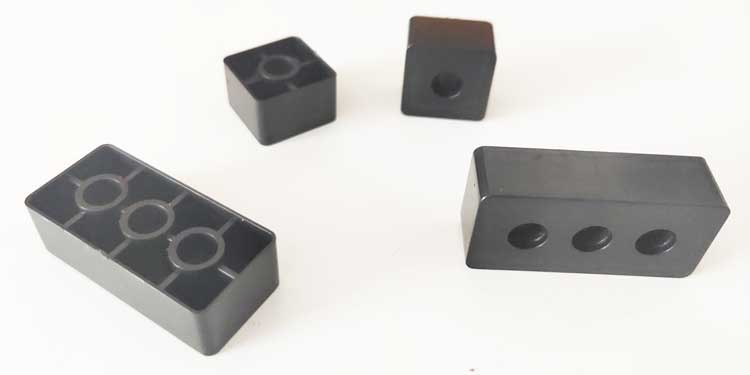
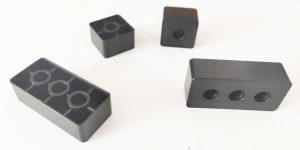
The 2 parts we made are quite similar to Lego bricks, both in appearance and function. They need to be pressed into their mating parts by hand with proper pressure and should be removed manually without too much difficulty.
How these parts work
These bricks will fit into the round bumps of the corresponding part.
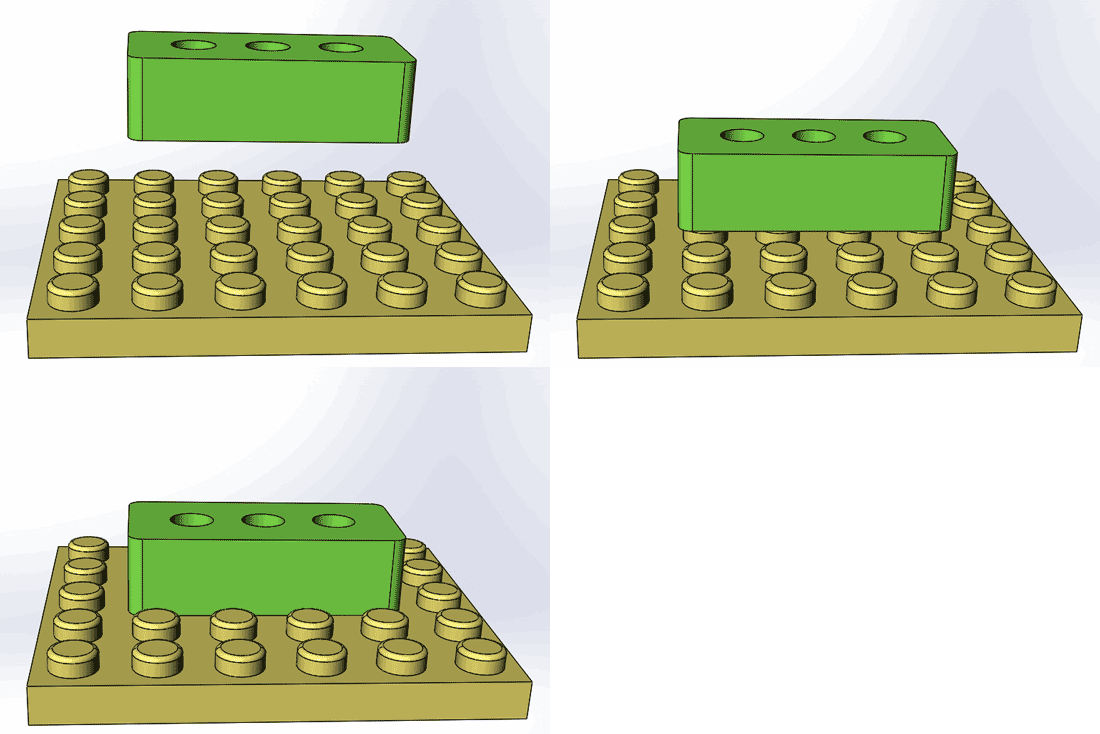
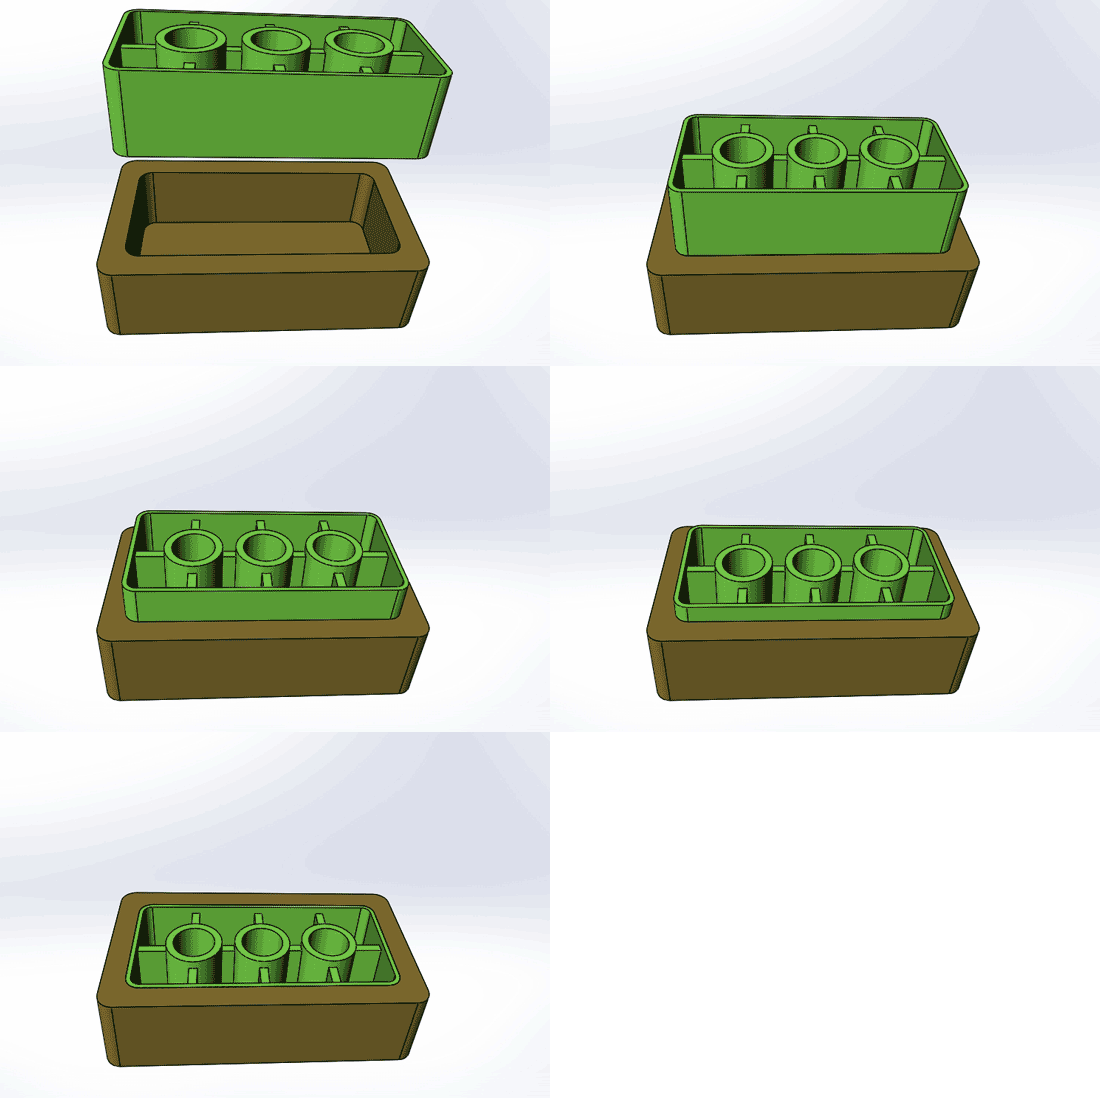
At the same time, they will also slide into the rectangular slot on the outer dimensions.
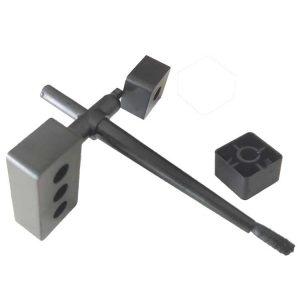
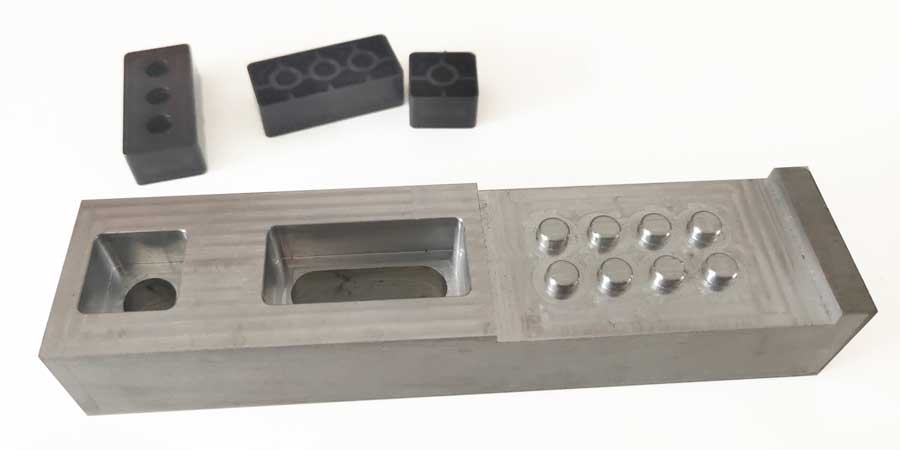
Inspection gauge for checking the plastic part
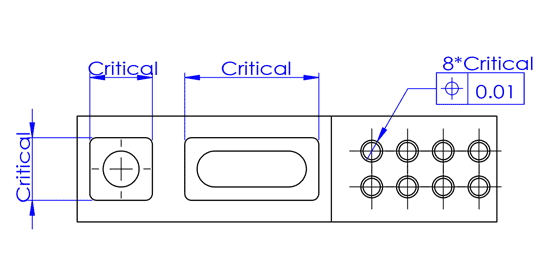
We made a measuring tool to check the molded bricks. The critical dimensions (shown in the below image) are the same as the real parts these plastic bricks will be used for.
How to ensure the internal dimensions
First of all, we need to ensure the machining dimensions of the mold. The mold dimensions need to be accurately measured and controlled.
Secondly, for the inspection of the molded plastic parts, this inspection tool is very useful for checking internal dimensions, because the caliper is less accurate for checking small internal dimensions. By using the inspection tool, we only need to judge whether the size is qualified according to the tightness of the fit.
How to check the outside dimensions
Other than using the inspection tool, we check the outside dimensions with a caliper.
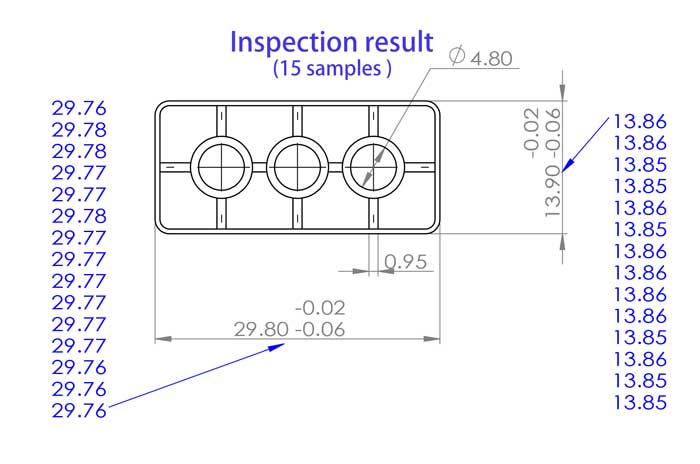
You can see from the results that the measurements show a good level of consistency.
Avoid sink marks and weld lines
One thing we always need to consider while making a mold is to avoid molding defects or keep them within an acceptable level. For these 2 parts, the particular defects we need to pay attention to are sink marks and weld lines.
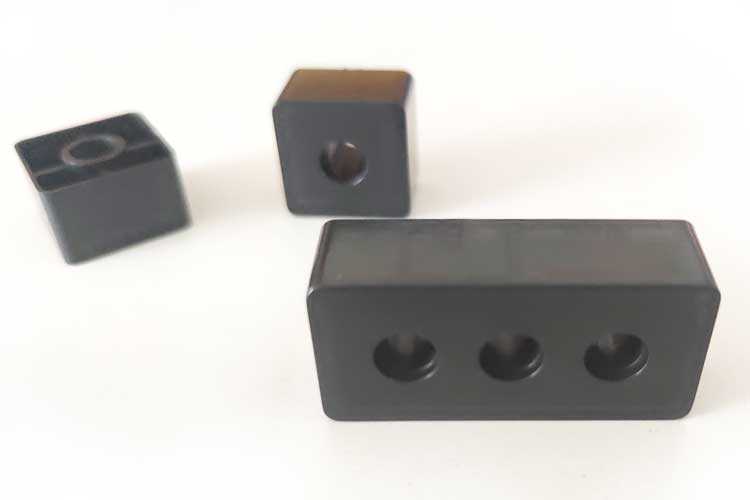
Here are some close-up views of the plastic bricks, the weld lines and sink marks are all within an acceptable level.
